Pool Explained
SR
Problems and solutions

Circulation troubleshooting

Pool pump not drawing water: what to check first

Check water level, valves, baskets, the lid seal and whether the housing is correctly primed. Switch off immediately if the pump hums, overheats or shows an electrical fault.

Water flow through the system
Skimmer
→
Suction pipe
→
Pump
→
Filter
→
Return jets

Bubbles under the clear lid: check the suction side before the pump first. High filter pressure: check the filter, valves and return line.

What to check when your pool pump will not prime

Common causes include low water, an empty skimmer, blocked baskets, a closed valve, a leaking pump lid seal or air in the suction pipe. Do not leave the pump running without water: it can quickly be damaged.

Written and edited by: Pool Explained editorial team

1

Check the water level, valves and baskets

The water must be high enough to prevent the skimmer from drawing in air. Switch off the power, clean the skimmer and pump baskets, and check that the suction valves are correctly open.

Inspect the pump lid seal. It should be clean, undamaged and correctly seated. Use only a lubricant approved by the manufacturer; an unsuitable product can damage the seal.

Fill the pump housing according to the instructions for that model. If the pump does not establish flow within the specified time, switch it off and continue checking rather than letting it run dry.

2

Persistent bubbles usually indicate an air leak

Large bubbles beneath the clear lid or air coming from the return jets usually enter on the suction side. Check the lid, drain plugs, valves, joints, skimmer and suction hose.

A joint may draw air in while the pump is running without leaving a wet patch when it is off. Bubbles and loss of prime are therefore often more useful clues than visible drips.

If the pump is full of water but return flow is weak, check the filter, valve positions and the impeller for a possible blockage. Assess the pump and filter together, not as separate pieces of equipment.

3

Leave electrical and mechanical faults to a technician

If the motor only hums, trips a protective device, overheats or smells of burning, stop trying to run it. A qualified technician should check the capacitor, motor, impeller and power supply.

Once flow is restored, record the clean-filter pressure, the appearance of the water in the pump basket and the strength of the jets. Next time, these references can help you spot a change before the pump loses prime completely.
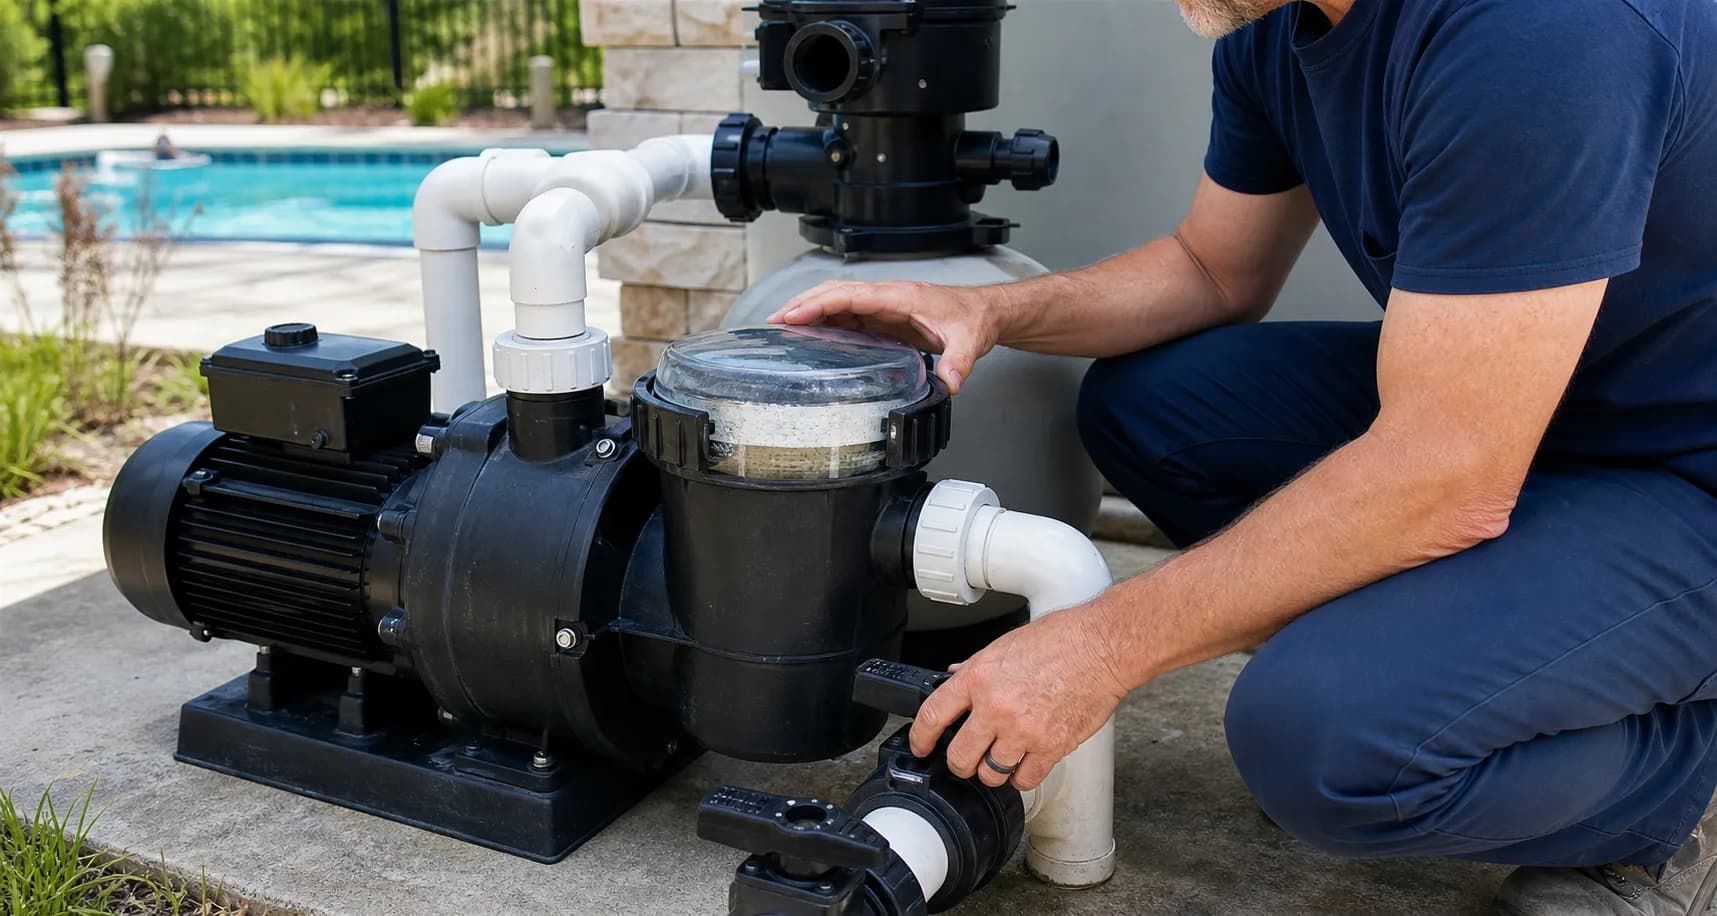
A quick initial check

Four checks before dismantling anything

Inspect with the pump isolated and follow the exact model’s manual.

1. Enough water

The level must allow the skimmer to draw water without a vortex or air. Top up if needed and free a stuck skimmer weir with the pump safely off.

2. Correct valve positions

Check suction and return valves. A valve left closed after cleaning or winterisation can stop flow completely.

3. Clean baskets

Isolate power, release pressure as instructed and clean the skimmer and pump baskets. A distorted basket can allow debris to reach the impeller.

4. A correctly primed pump

Fill the pump housing using the manufacturer’s procedure, clean the lid seating and refit the seal correctly. Never leave the pump running dry.

Symptoms

What air, pressure and pump noise can tell you

Large bubbles under the lid

Air usually enters before the pump through the skimmer, lid, drain plug, joint, valve or a damaged suction hose.

The basket housing fills, then empties

Possible causes include intermittent air entry, blocked suction or low water. If there are several suction branches, check them separately using the correct procedure.

The pump is full but flow is weak

Possible causes include a dirty filter, partly closed valve, blocked impeller or excessive system resistance.

It only hums or trips protection

Stop trying to start it. A qualified technician should check the impeller, capacitor, motor and electrical supply.

Safe troubleshooting order

Checking in order and knowing when to stop

Change one thing at a time and record the result.

  1. 1Isolate the pump before opening its lid or basket. Never handle electrical equipment with wet hands.
  2. 2Check water level and free movement of the skimmer weir. Remove floating obstructions from the intake with the pump off.
  3. 3Record valve positions, then set normal filtration according to the system labels.
  4. 4Clean both baskets. Inspect and clean the lid and O-ring; use only approved lubricant.
  5. 5Fill the housing, close the lid without overtightening and open the filter air relief if the instructions require it.
  6. 6Start the pump and observe only within the manufacturer’s permitted priming time. If water does not arrive, switch it off.
  7. 7Isolate suction branches only if you understand the valves and safe procedure. A branch that introduces air or loses flow helps narrow down the fault.
  8. 8If basic checks fail, a technician can test vacuum and inspect connections, plugs, impeller, seals and electrics rather than replacing parts at random.

Further investigation

What a technician can test

Suction-side air leak

A joint can draw air under vacuum without leaking water out. Bubbles may be a more useful clue than damp patches.

Blocked pipe or impeller

Leaves, toys or fibrous debris can block a pipe or impeller opening. Never insert tools or open the pump unless power is safely isolated and the procedure permits it.

Excessive suction lift

A pump above water level has to lift water during priming. Permitted lift and priming time depend on the model and installation.

Filter or return-line restriction

High pressure with weak returns points to a restriction after the pump. Clean the filter by its prescribed method. Never change multiport-valve positions while the pump runs.

Prevention

Keep a record of normal operation

Record normal readings

Keep the clean-filter pressure, normal appearance under the lid and return strength on record. Changes will be easier to identify later.

Seasonal seal inspection

The O-ring should be clean, intact and correctly seated. The wrong lubricant can damage its material.

Keep debris out of the suction system

Empty the skimmer regularly and never run the pump without its basket. Check after storms before extended operation.

A larger pump will not fix a fault

More power will not remove an air leak or blockage and may exceed the limits of filters, pipes and suction fittings.

FAQ

Questions about a pump that loses prime

How long can a pump run without water?

Do not deliberately run it dry. If it fails to prime within the manual’s time limit, stop it. Water cools and lubricates pump components.

Why does the pump lose prime overnight?

Air may enter through the lid, plug, valve or joint, a non-return device may not hold, or the water level may have fallen. Start with the suction side and account for the actual plumbing layout.

Can a dirty filter stop the pump drawing water?

It can seriously restrict flow. If the housing does not fill at all, a suction-side or priming problem is more likely. Pressure readings and bubbles help decide where to check first.

Can I pour water over the pump to find an air leak?

Keep water away from electrical parts. Leave appropriate leak and vacuum testing to a technician, especially if checking the lid and accessible joints does not reveal the cause.

When should I call a technician immediately?

For a burning smell, sparks, tripping protection, an excessively hot motor, water near electrical parts, cracked housing, unusual sounds or repeated loss of prime.

Inspecting a pool pump that will not draw water

Related guides

Check the rest of the circulation system