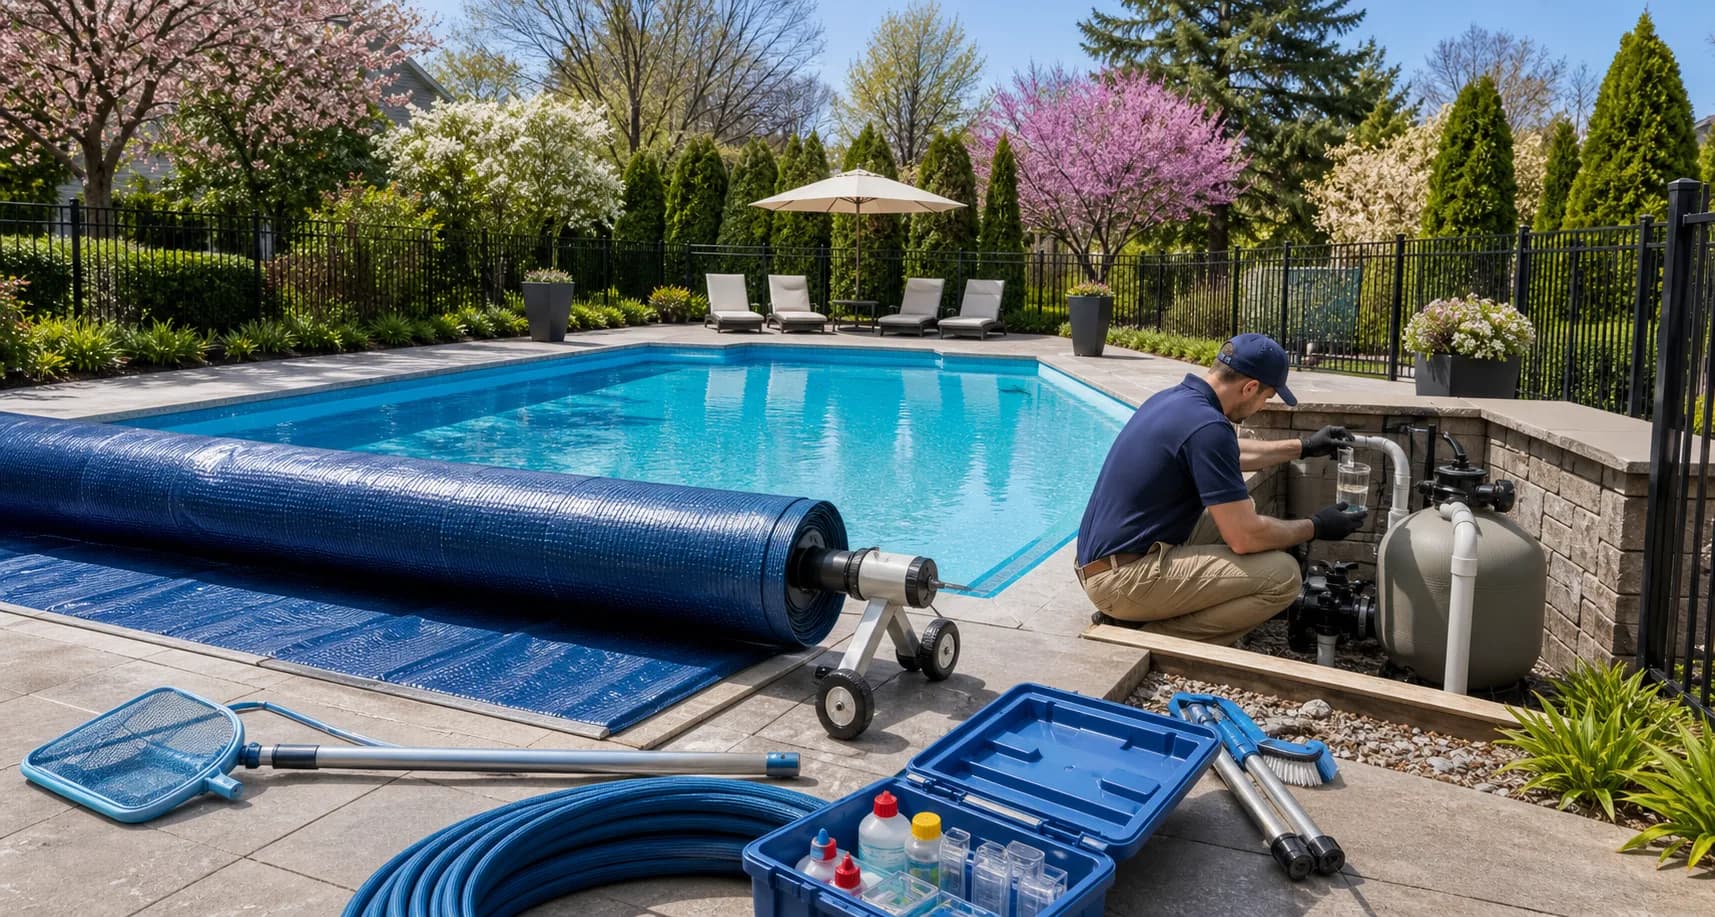
Start opening your pool by inspecting it and the equipment, not by adding chlorine. Remove and clean the cover, refit plugs and parts removed for winter, top up to the working level and start filtration while checking the joints. Once the pump has established normal flow and there are no leaks, test pH and sanitiser. Before the first swim, the water must be clear to the bottom, readings within the required ranges, and equipment and protective barriers in good condition.
Written and edited by: Pool Explained editorial team
Prepare the pool before starting the pump
First remove water and leaves from the cover so debris does not fall into the pool as you take it off. Wash and dry it as its material allows, then check for tears, damaged anchors and loose straps. Damage to a safety cover is not merely cosmetic and must be addressed before it is used again.
With the equipment still switched off, inspect the lining, grout, skimmer, return jets, suction covers, edges and deck. On an above-ground pool, check the frame, joints and liner. If you find dampness, a cracked connection or water near electrical components, identify the cause before filling and starting the system.
Locate the drain plugs, pressure gauge, baskets, jets and other parts removed at closing. Photographs taken in autumn help. Clean and inspect seals, using only lubricant approved by the manufacturer. Replace hard, cracked or misshapen seals, which are likely to leak under pressure.
Do not start the pump until the water level is correct, the valves are set for startup and the housing is prepared according to its instructions. If you are unsure how the pipes were winterised, call a technician. An incorrect valve position or forgotten winter plug can cause damage within minutes.
Start circulation and check every connection immediately
Top up to the level required by the skimmer and prepare the pump for startup. Stay beside the equipment after switching it on. The pump should establish steady flow without running dry, a large air pocket under the clear lid or unusual noise. If it does not prime within the time stated in its instructions, switch it off and check the water level, valves, lid and suction side.
Inspect connections at the pump, filter, heater, chlorinator and return lines. A small drip at the start of the season can become a persistent leak during daily operation. Check the return jets too. Even flow without much air usually indicates that circulation is established. If there are many bubbles or weak returns, continue checking both suction and pressure sides.
Record the pressure with a clean filter and normal flow. It will provide a useful reference throughout the season as dirt accumulates. Inspect and wash or replace the cartridge according to its condition. Backwash a sand filter only when its condition and instructions require it, always switching the pump off before moving the valve.
Run the system long enough to mix the water thoroughly and reveal leaks. For a 30 m³ pool with an actual flow of 6 m³/h, one approximate turnover takes five hours. This is not a compulsory run time for every pool, but a simple way to estimate circulation before retesting.
Test the water before the first treatment
Water colour is not enough to choose a treatment. Take a sample away from a return jet and measure at least the parameters required by your sanitising system. For chlorine pools, these include pH and free chlorine; checking alkalinity and stabiliser is also useful when using stabilised products. If you topped up with well water, consider metals and possible discolouration after adding chlorine.
Make adjustments one at a time, using the actual volume and the specific product label. Never mix concentrates in one container or add them together in the same place. After each significant adjustment, allow the manufacturer's specified circulation time and test again. This lets you see what changed the result.
Green or very cloudy water needs more than an initial sanitiser dose. Brush the surfaces, ensure sufficient flow and use a filter capable of removing the debris produced by treatment. Clean the filter as appropriate when pressure rises or flow drops. Chemicals cannot compensate for a blocked cartridge or a pump drawing in air.
Do not plan to swim that day merely because the water has turned blue. Confirm that you can clearly see the bottom, pH and sanitiser meet your system's requirements, and the waiting time on every product used has elapsed. After a stronger treatment, test again before swimming instead of relying only on the hours since dosing.
Check the pool surroundings before the first swim
Refit ladders and handrails and make sure they are secure. The gate should close and latch by itself, and furniture, pots and equipment must not help a child climb over the fence. Suction covers must be intact and secured. Do not use the pool if a cover is missing or broken.
Do not improvise tests of cables, protective devices, earthing or bonding. If electrical components are damp, a cable is damaged or a protective device keeps disconnecting the supply, call a qualified electrician or service technician. Repeatedly switching it back on without finding the cause is not a safety check.
Monitor water level and connections for the first two days. Mark the level while the pool is unused and compare it the next day, allowing for temperature, wind and evaporation. A rapid or persistent drop, wet soil around pipes or frequent topping up warrants a leak check before regular use makes it harder to spot.
Finally, record the opening date, clean-filter pressure, pump schedule and initial test results. These brief notes give you a starting point for summer maintenance. If pressure, flow or chlorine use changes a week later, you will have a reference rather than relying on memory.