Pool Explained
SR
Problems and solutions

Leaks and water level

How to tell pool evaporation from a leak

Evaporation, splashing and backwashing can look like a leak. Start with a bucket test, then compare loss with the pump running and stopped if safe to do so.

Do not drain an in-ground pool without professional assessment. Groundwater can lift the shell, and a liner can shrink or move. Rapid leakage, dampness near electrical equipment or settling ground needs professional attention.
Bucket test for pool water loss

How to tell evaporation from a pool leak

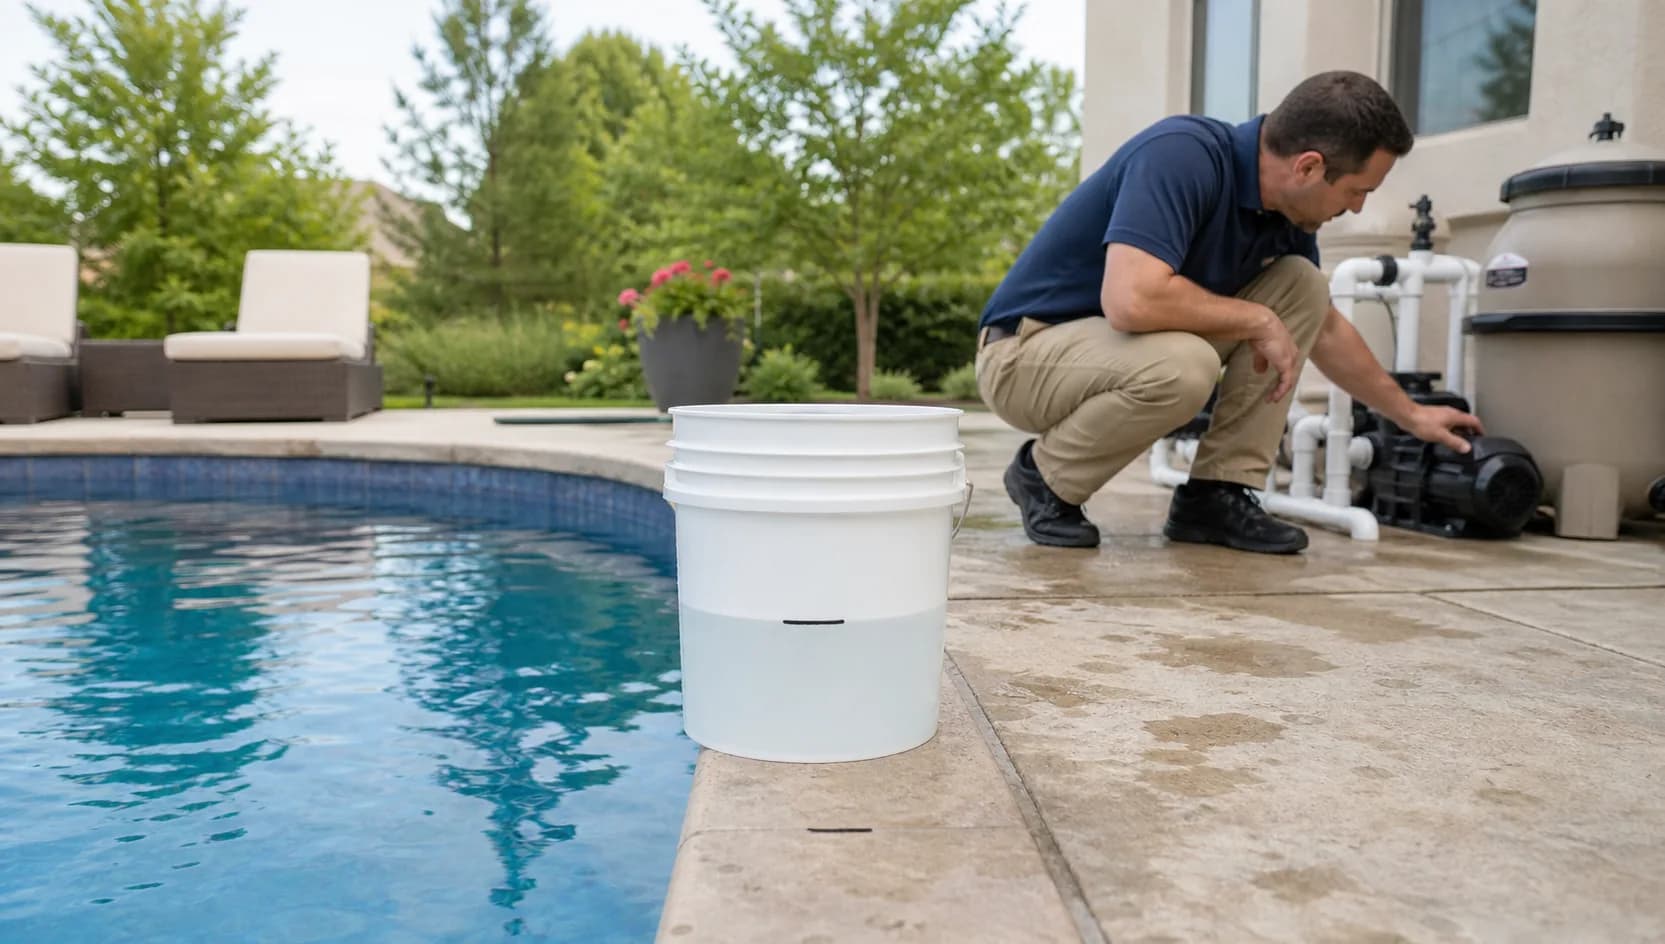
The simplest initial check is a bucket test. Compare the drop in the pool's water level with the drop in a bucket exposed to the same weather. If the pool loses noticeably more water, a leak is more likely.

Written and edited by: Pool Explained editorial team

1

Run the test in settled, comparable conditions

Place a stable bucket on a step so it sits partly in the pool water but cannot float. Fill it to approximately the pool's water level and mark the two levels separately.

Turn off automatic top-up and avoid swimming, backwashing or anything else that changes the level. After about 24 hours, measure the vertical drop from each mark. Rain, sprinklers and highly variable wind can make the comparison unreliable; repeat the test if these interfere.

If the pool and bucket lose about the same amount, evaporation is more likely. If the pool loses more, continue by inspecting accessible parts of the system.

2

Compare water loss with the pump on and off

If more water is lost while the pump runs, inspect the return pipes, filter, heater, valves and waste outlet. If more is lost while it is off, begin with the suction pipe, skimmer, fittings, light and pool lining.

If the water repeatedly stops falling at the same level, look for fittings at that height. This does not prove where the leak is, but it can narrow down the area to inspect.

Do not let the water fall far enough for the pump to run dry or the pool structure to be put at risk. Never drain an in-ground pool without professional assessment of groundwater conditions.

3

Inspect the equipment before digging

Look for dampness, drips, salt or limescale deposits and corrosion around the pump, filter, valves, heater and connections. Also check whether the multiport valve is allowing water to escape to waste while set to filtration.

Record the time, pump operation, wind, temperature and exact water-level drop. If you need a technician, these notes help them choose a pressure test or another targeted check instead of opening up the deck at random.

Initial clues

When and where the water level falls

Pool and bucket levels fall by similar amounts

If both levels fall by about the same amount under the same conditions, evaporation is more likely. Repeat the test in stable weather to check.

Water drops faster with the pump running

Check pressure-side equipment first: return pipes, filter, heater, valves and any waste line that may be passing water unintentionally.

Water drops faster with the pump off

A suction pipe may leak water when it is no longer under vacuum. Also check the shell, skimmers, lights, penetrations and liner.

The level repeatedly stops at the same height

A skimmer, return, light or visible defect at that height can help narrow the search. Never allow the water to fall far enough to endanger the structure or equipment.

What to do next

Seven steps to investigate water loss

First confirm additional loss, then compare pump operation and likely leak locations.

  1. 1Restore a safe water level if the pump starts drawing air, and stop it if it cannot run safely. Do not touch wet electrical parts.
  2. 2Mark the waterline with thin tape or a pencil. Record wind, temperature, rain, swimming, top-ups and filter backwashing.
  3. 3While the equipment runs, visually inspect the pump, filter, valves, heater, chlorinator and waste outlet without touching them. After isolating power, check accessible areas for damp marks and deposits.
  4. 4Run a bucket test for about 24 hours without swimming, automatic top-ups, backwashing or rain. Mark the starting levels in the bucket and pool separately.
  5. 5If the pool loses more, repeat in a different pump mode only if safe: once with normal circulation and once without it.
  6. 6Watch for a level that stabilises near a fitting. Inspect skimmers, returns, lights, material joints and the liner without draining the pool.
  7. 7Give your notes to a leak specialist. They can choose pipe pressure testing, acoustic testing, tracer gas or controlled dye testing before any excavation.

Bucket test

How to get a useful comparison

1. Position the bucket

Place a stable bucket on a step or platform, surrounded by pool water but unable to float or tip over.

2. Fill and mark both levels

Fill the bucket to roughly the pool’s level. Mark the water inside the bucket and in the pool separately. You are comparing the change in each level, not their starting heights.

3. Avoid other water gains or losses

Turn off automatic filling and avoid swimming and backwashing. Do not test during rain or when sprinklers could add water.

4. Compare the drops

After about 24 hours, measure the vertical drop from each mark. A clearly greater drop in the pool makes a leak more likely.

Where to look

Inspect equipment before testing hidden pipes

AreaUseful clueNext safe check
Above-ground equipmentDrips, damp concrete, rust or mineral deposits near the pump, filter, valves or heater.Dry an accessible non-electrical surface with the equipment safely isolated, then observe briefly and mark any new trace. Never open a pressurised vessel.
Backwash waste lineWater discharges even when the valve is not in a backwash mode.Check the outlet. A damaged multiport valve or non-return component needs servicing.
Suction pipeworkAir under the pump lid, bubbles at returns or difficulty holding prime.Check water level, the lid and accessible joints. Hidden pipes require controlled pressure testing.
Return pipeworkThe level falls faster while the pump runs; ground along the pipe route becomes wet or settles.Do not excavate until professional testing has isolated the affected line.
Skimmer and wall fittingsThe level stabilises at the lower edge of a skimmer, return, light or another fitting.Inspect seals and joints using a method suitable for the material. Leave electrical lights to a qualified professional.
Finish or structureA liner tear, crack, displaced seal or damp area beside a wall.Controlled dye testing can help locate a leak. Apply suitable dye close to the suspected spot in still water; do not pour it across the pool.

Keep a record

Four details that help a leak specialist

Weather conditions

Record wind, air and water temperatures, cloud cover, rain and whether the pool cover was on.

Pool use

Bather numbers, splashing, waterfalls, counter-current swimming and heating can substantially change daily water loss.

Equipment operation

Record pump hours and speed, valve positions, backwashing, overflow discharge and automatic filling.

Accurate level measurements

A vertical ruler and photos of the same marked point are more reliable than estimating against tile lines.

Stop immediately

When to stop and call a professional

the pump draws air, runs dry, rattles or overheats
water or dampness is near an electrical enclosure, light, cable or socket
rapid loss washes away soil, undermines paving or threatens a nearby structure
the proposed work would empty an in-ground pool without a groundwater assessment
the filter tank, clamp, valve or another pressurised component is cracked
the investigation needs demolition, excavation, diving or work in a confined equipment space

Prevention

How to spot small leaks sooner

Mark the normal water level

After topping up, mark and photograph the normal level. This makes changes easier to notice and provides a useful service record.

Inspect equipment monthly

Look for drips, deposits and corrosion before a small leak damages the motor, base or electrical parts.

Monitor water use

If you have a water meter or metered automatic filler, track usage. Automatic filling can conceal a leak for months.

Protect pipework in winter

Freezing can damage pipes and valves. Close the pool according to the local climate and its specific instructions.

FAQ

Pool water-loss questions answered

How much pool water loss from evaporation is normal?

There is no reliable universal daily figure. Wind, water and air temperatures, humidity, surface area, cover use and water features all affect loss. A bucket exposed to the same conditions is more useful than someone else’s daily allowance.

How do I carry out a bucket test?

Secure a bucket in the pool, mark its water level and the pool level separately, turn off automatic filling and avoid swimming, rain and backwashing. After about 24 hours, compare the vertical drops. A larger drop in the pool indicates additional loss.

What if it loses more water only when the pump runs?

That points towards pressure-side return lines or equipment that leaks during operation. It is not conclusive: valves, waste lines and individual branches still need controlled checks.

Can I use food colouring to find a hole?

Pouring colouring randomly into the pool is not useful. Pool leak-detection dye is applied very close to a suspected point in still water. Movement towards an opening is a clue, but does not establish the condition of hidden pipes.

Should I let the level fall until it stops?

Not without a safe limit. Low water can damage the pump, liner or structure, and groundwater can lift an empty in-ground shell. Monitor the level with professional advice.

When should I call a specialist?

When the pool consistently loses more than the bucket, hidden pipes are involved, water is near electrics, loss is rapid or the ground is settling. Get advice before draining, excavating or breaking finishes.